woocommerce
Overview
Monek Checkout for WooCommerce integrates smoothly with your store, allowing customers to pay using debit and credit cards, as well as Apple Pay. Simply install the plugin, then either create a new Monek account or connect an existing one to start accepting payments immediately.
Create Checkout Settings
- In the Monek Portal, go to Settings → Integrations and navigate to the WooCommerce Integration tab.

- Click the Create button. A dialog will appear prompting you to enter the following details:
- Display Name – this can be any name that helps you identify the configuration.
- Merchant Domain – enter your website’s domain.
- After completing the Create Plugin Settings step, the generated settings (Access Keys and Webhook Secret) will be displayed. Store these securely, as the Access Secret will not be shown again.
- Enter the settings in WordPress by navigating to Admin Area → WooCommerce → Settings → Payments → Monek. And click Save.
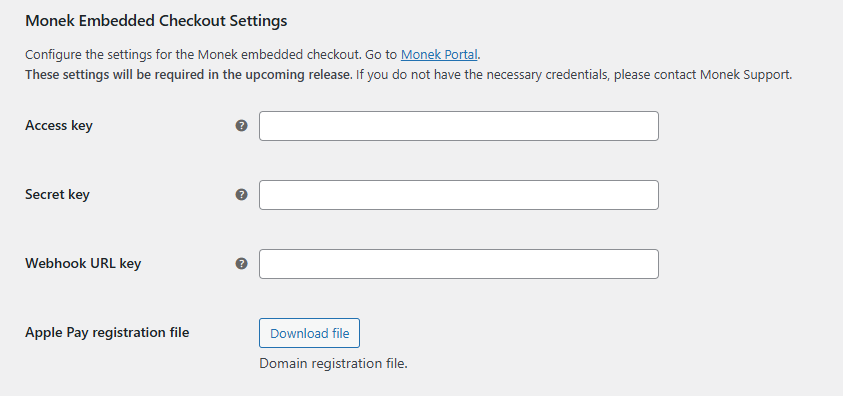
Access Keys
The access keys establish a secure connection to the Monek APIs, enabling the processing of payments and these can be managed in the Monek Portal on the Integrations page.

Note: The Access Secret cannot be retrieved once created. If it is lost, a new pair of access keys will need to be generated.
Webhook Integration
Webhook confirms payment, and the plugin updates the order status to Payment Confirmed. Use this status to track orders that have securely completed the Monek payment flow.
If you prefer to manage order status updates manually, you can remove the Webhook URL Key from the plugin settings.
Additional information regarding how webhooks and Svix works can be found here.
You can create a webhook by following these steps:
- In the Monek Portal, go to Settings → Integrations and navigate to the Webhooks Integration tab.
- Click Manage to open the Svix page.
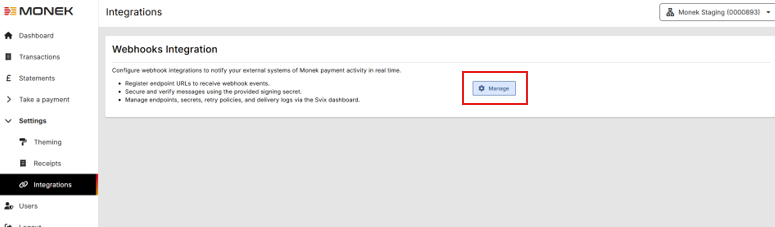
- Within Svix, click Add Endpoint and configure:
- Endpoint URL – This will be your WordPress domain plus
/wp-json/monek/v1/webhook. - Subscribe to events – Subscribe to all events.
- Endpoint URL – This will be your WordPress domain plus
- Once created, copy the Signing Secret from Svix and enter it into your plugin configuration.
Additional information can be found on the plugin store https://wordpress.org/plugins/monek-checkout/